'Hat' pays five to one!
So, I was cutting patterns for miscellaneous bonnets for the costume closet for Ste. Gen's Victorian Christmas Walk when an irresistible urge for a fanchon style bonnet took root. Fanchon bonnets followed spoon bonnets (post to come!) in the fashion timeline and were popular toward the end of the American Civil War.
Civil War + You Tube = Getting sucked into Gone With The Wind movie clips.
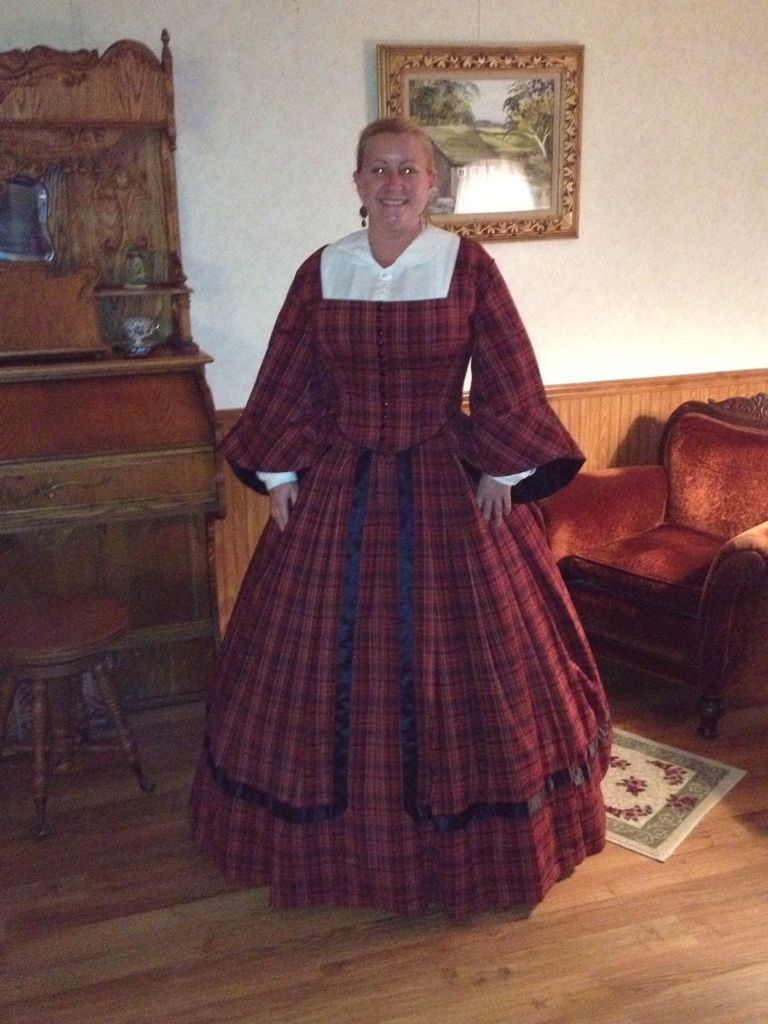
The *very* last place to go for CW costume research is Gone With The Wind. But what the heck, we can withstand a GWTW bonnet can't we? Of course we can! I never made a proper topper to complement Stephanie's 1865 Red Plaid frock.
Hey lookie, I've got some red cotton velvet scraps and some red silk! Do you know what that
Remember this scene?
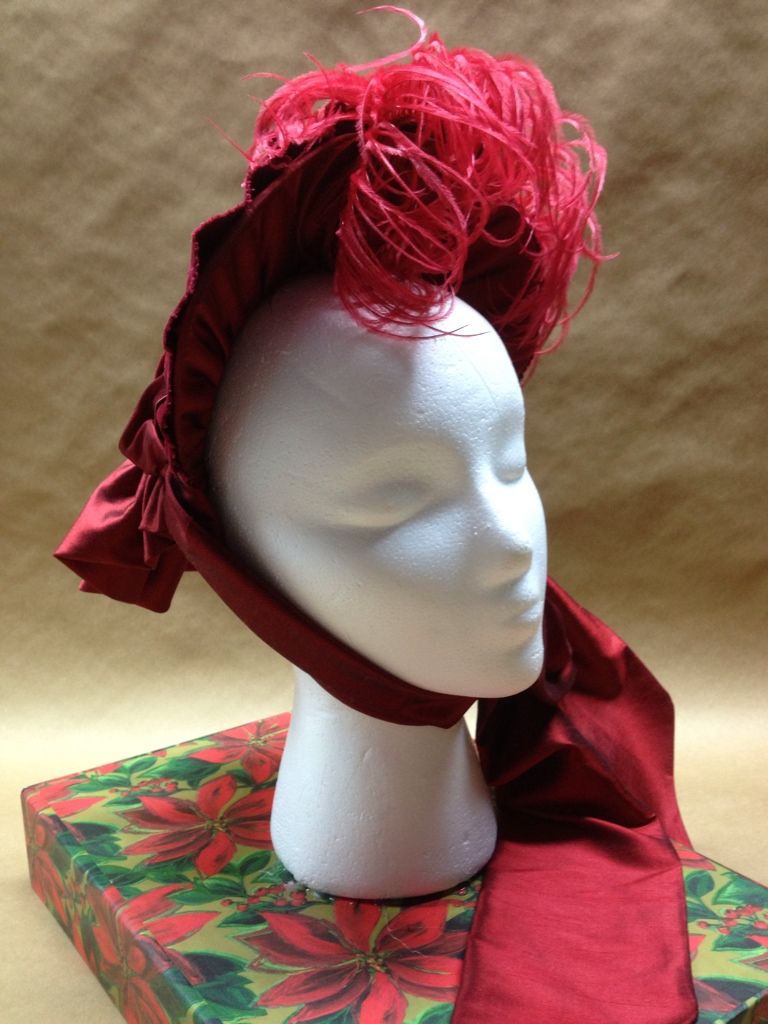
Ridiculously adorable bonnet. Away we go!
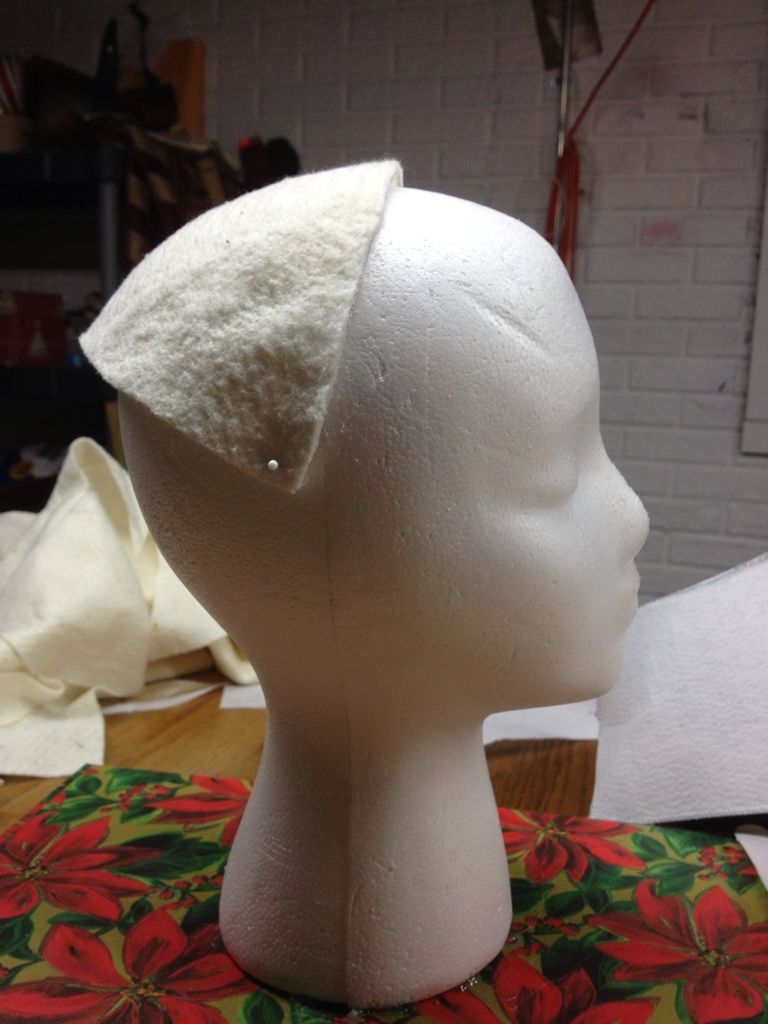
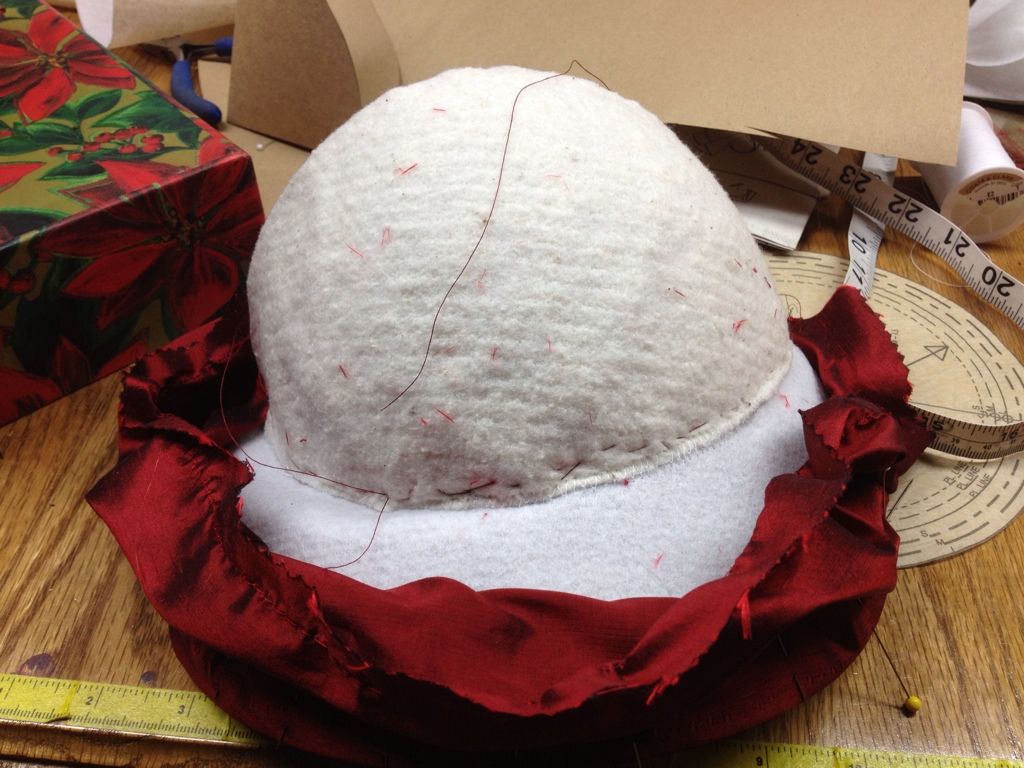
I like Pellon Peltex for hats, but for this bonnet I needed a rounded form for the crown, so I used wet buckram formed over FredMeyer*, my styro-head, for part of the bonnet frame. Totally forgot to take pictures of that part. Wet the buckram, stretch smooth over the curve, pin tight, wait for it to dry. Draw a marquise shape, cut, wire, add some cotton quilt batting, et voila!
I derped around with brown paper to get the right curves for the brim. Looking at extant fanchon bonnets, the brims are no where near that angle. "Fiddle-dee-dee," someone once said.
I cut the brim of Peltex, wired it, and stitched it to the crown.
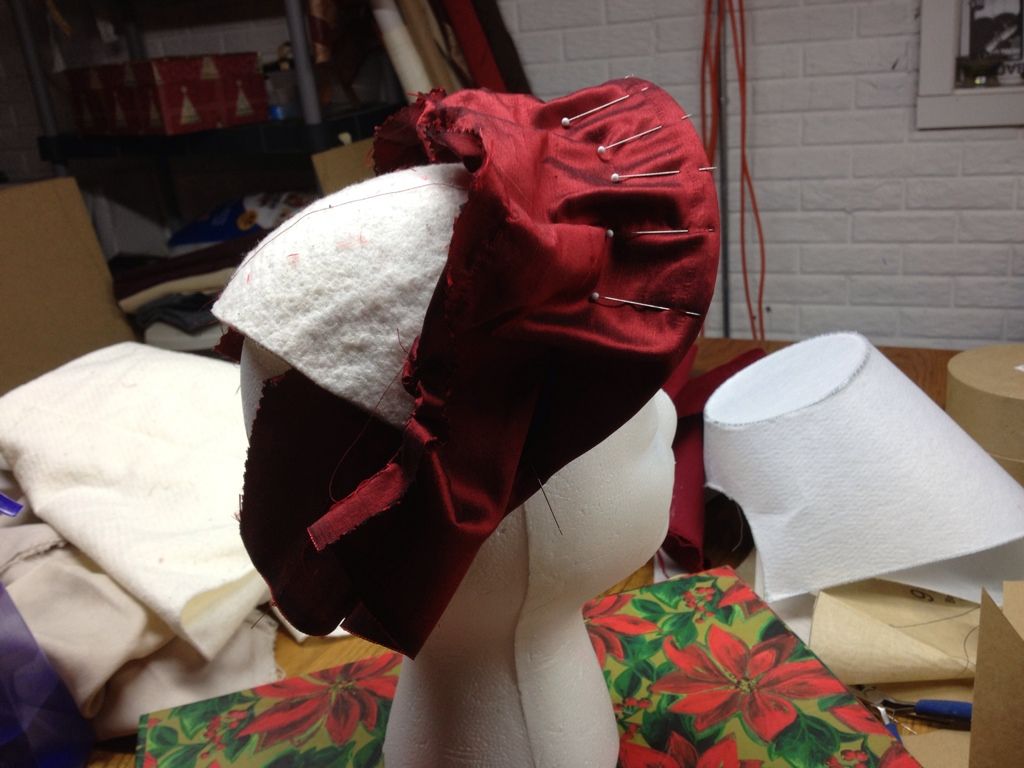
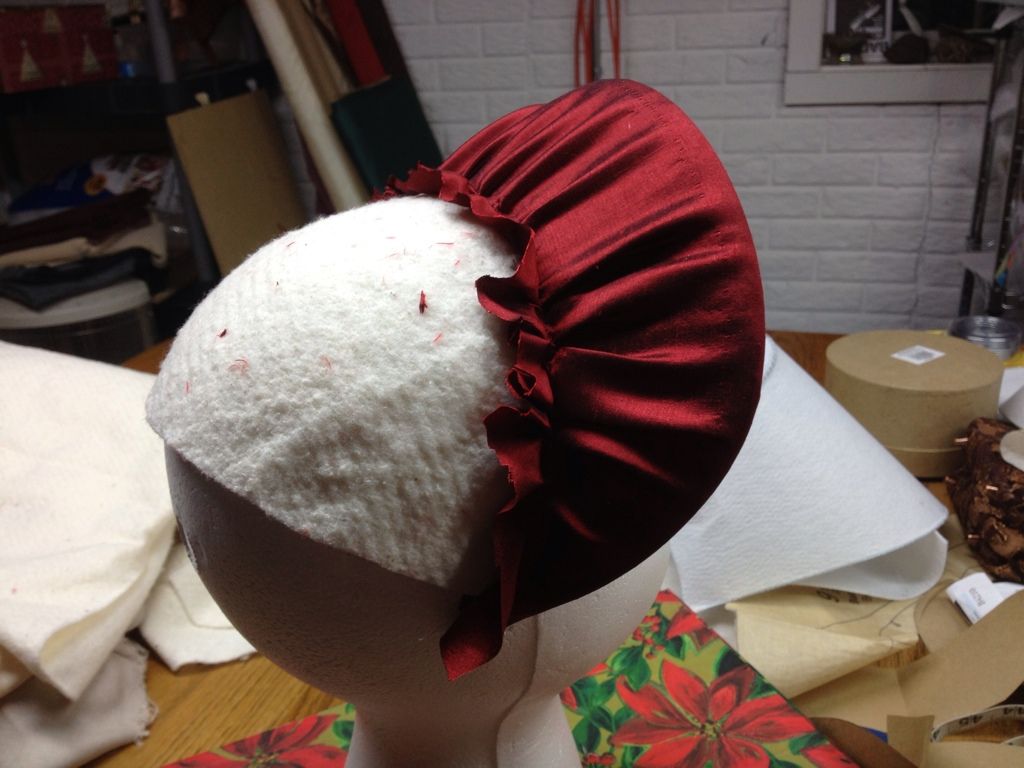
A scrap of silk of sufficient width to cover the brim is pinned in place.
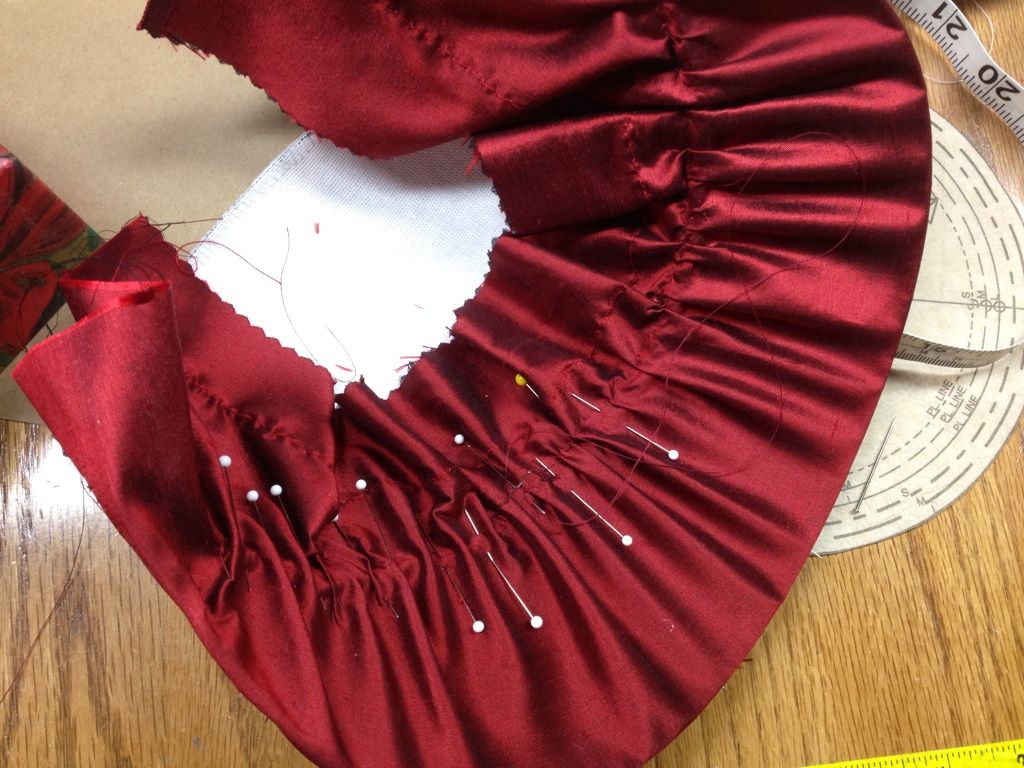
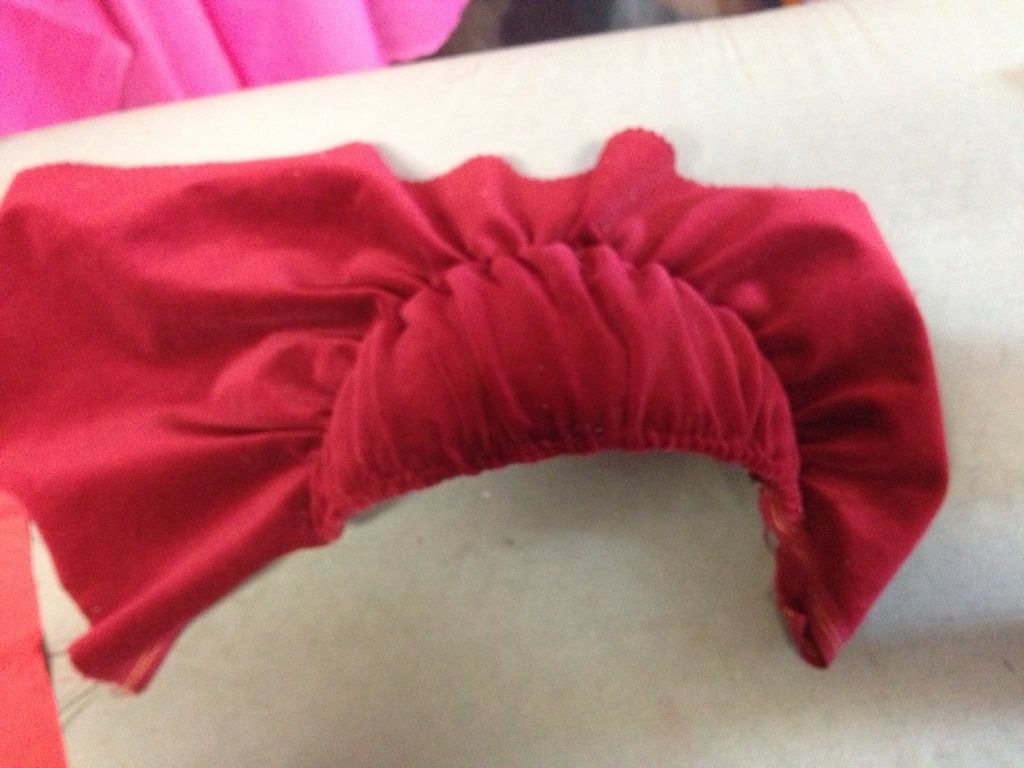
I adjusted the fullness by hand...
...and hand stitched in place.
The topside gathers I adjusted similarly and hand stitched in place.
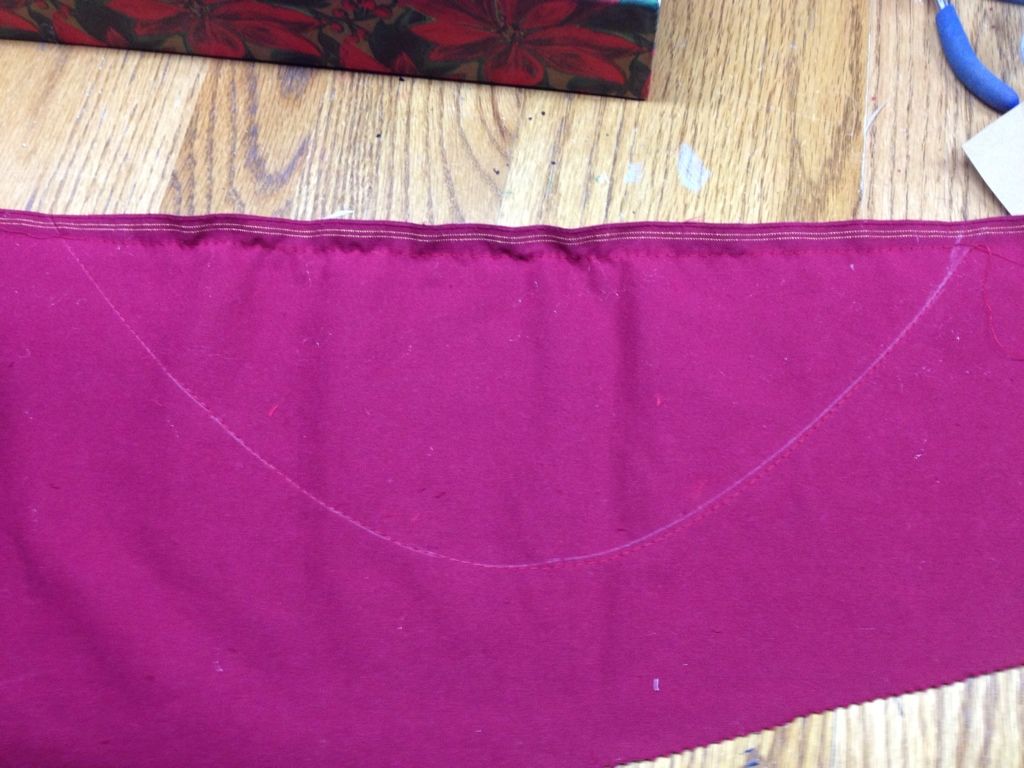
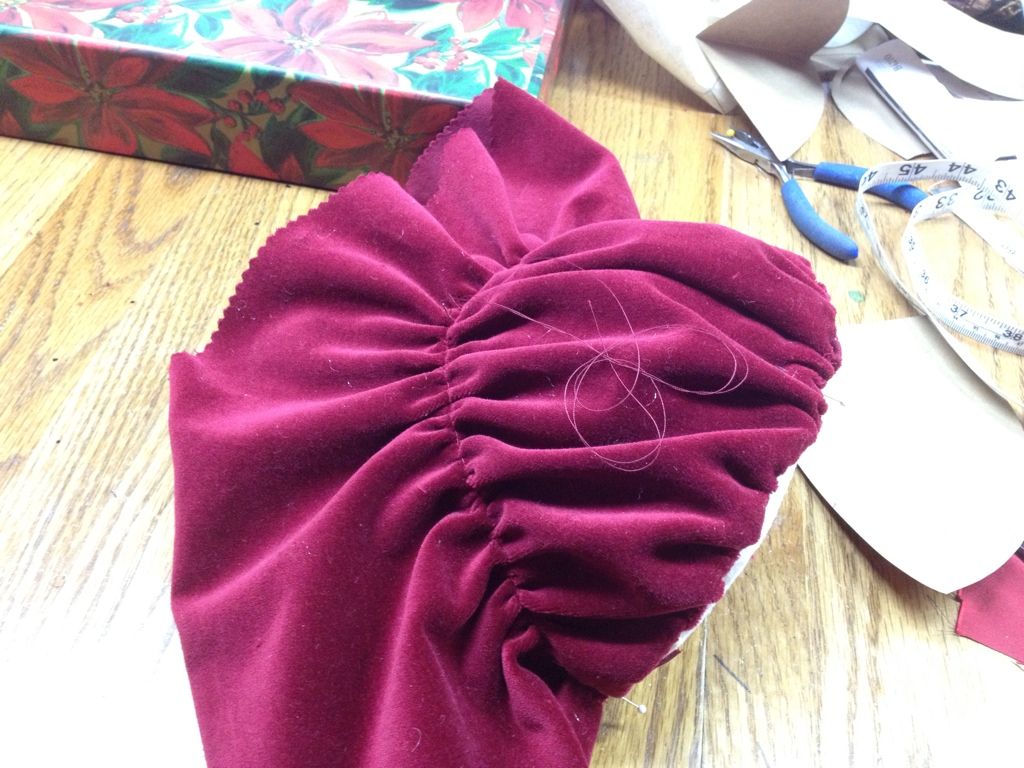
The crown and brim topside are to be covered in the cotton velvet. I took advantage of a selvedge edge here. I pinned the scrap selvedge edge roughly in place at the crown back edge (not shown), and made some chalk marks at the crown/brim seam. I stretched out the line, ran a long machine stitch at the extended chalk line and also at the selvedge to gather the velvet.
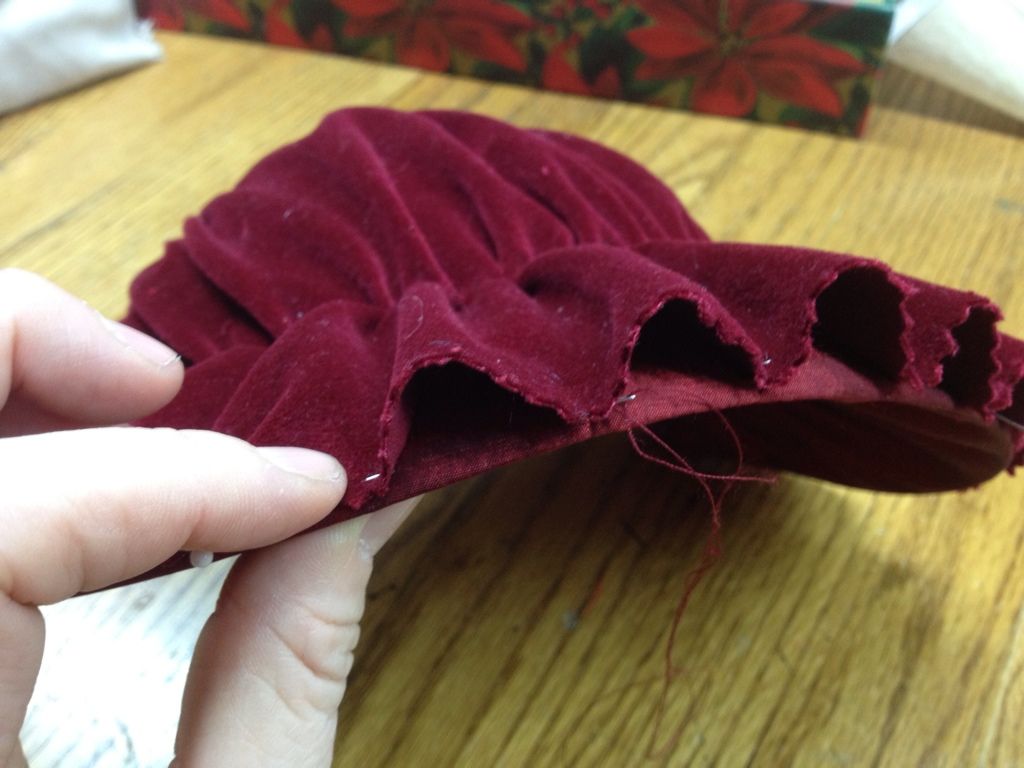
The excess at the brim forms a ruffle.
Hand-stitched at the front and back of the crown. I should mention here that there was not a single drop of glue--hot, solvent, or otherwise--used in this hat. I luvs me some Beacon's Fabri-Tac but there never seemed to be a need for adhesives with this project.
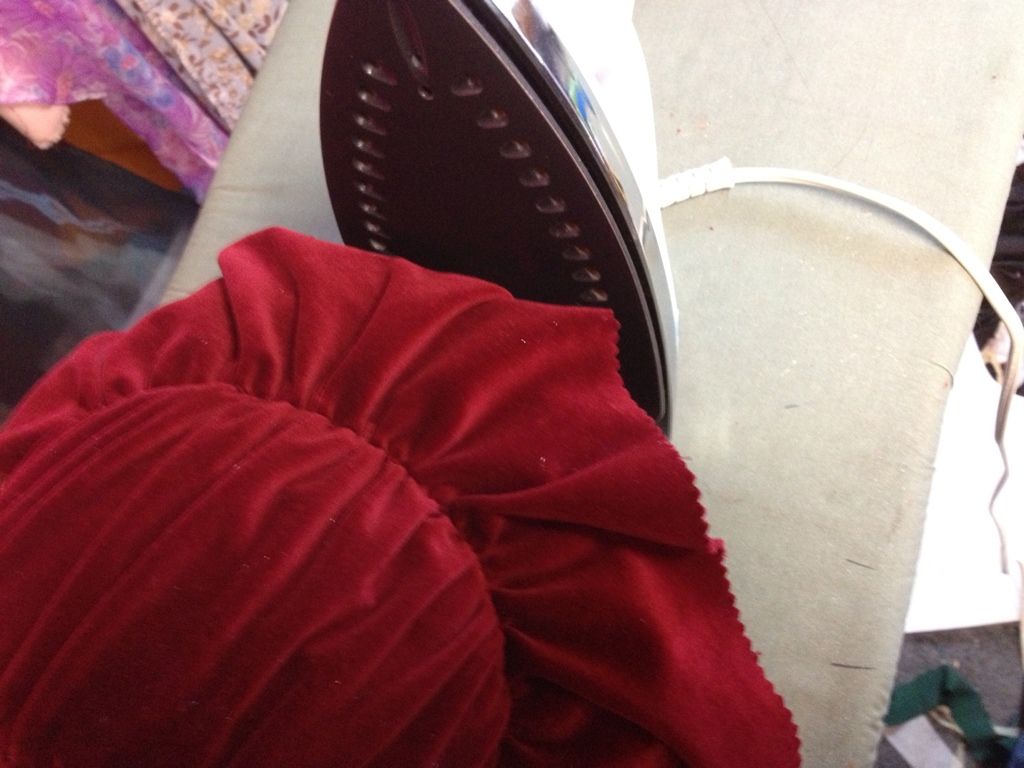
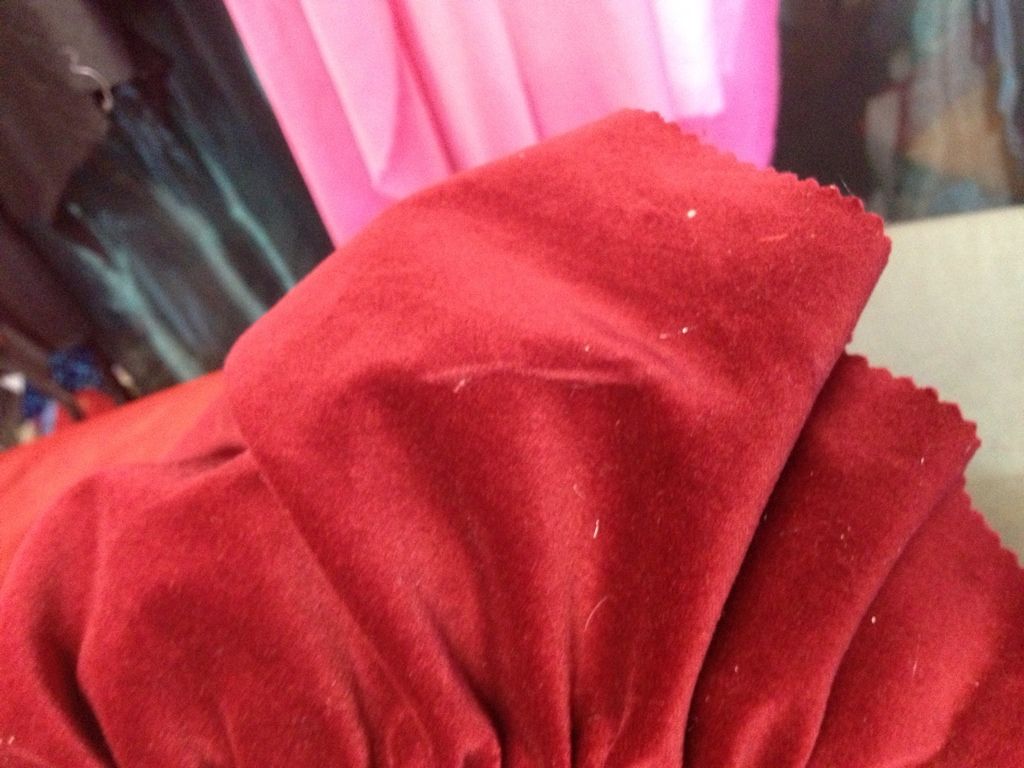
I used the iron to mark the velvet where it extended past the brim.
Velvet marks very easily. I used the marks I made as a guide to pink the edge.
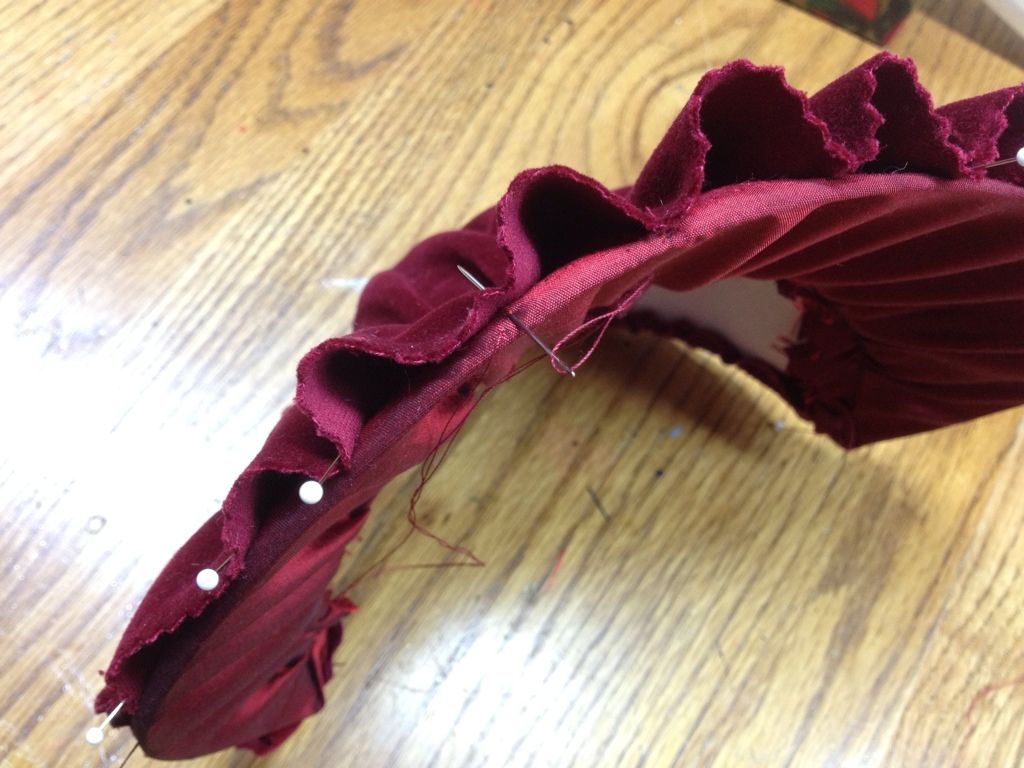
After adjusting the fullness I tacked each ruffle down invisibly. The velvet really absorbs hand stitches.
I slid under the silk to get between ruffles.
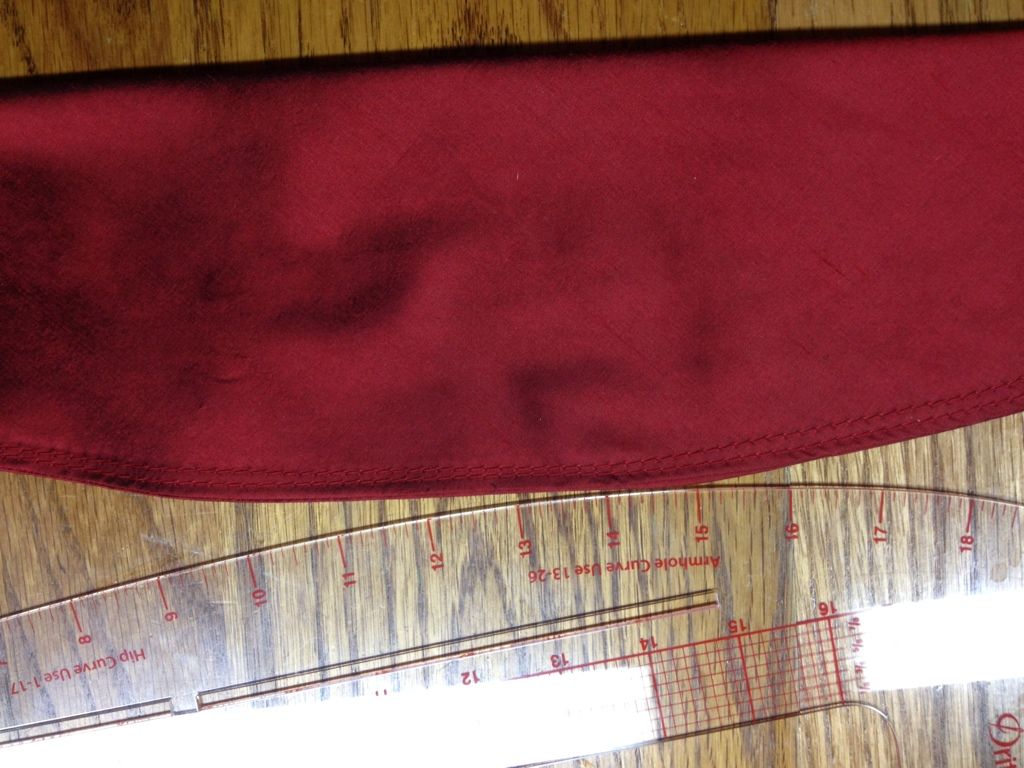
I'm approaching the end-zone here so I got excited and forgot to take pictures. For the bavolet, or curtain, at the back of the crown I folded a square of the silk to get a bias edge. I measured the back edge of the crown and cut a pattern piece in a curve at roughly double the length of the back edge. The straight edge of the pattern is on the bias fold.
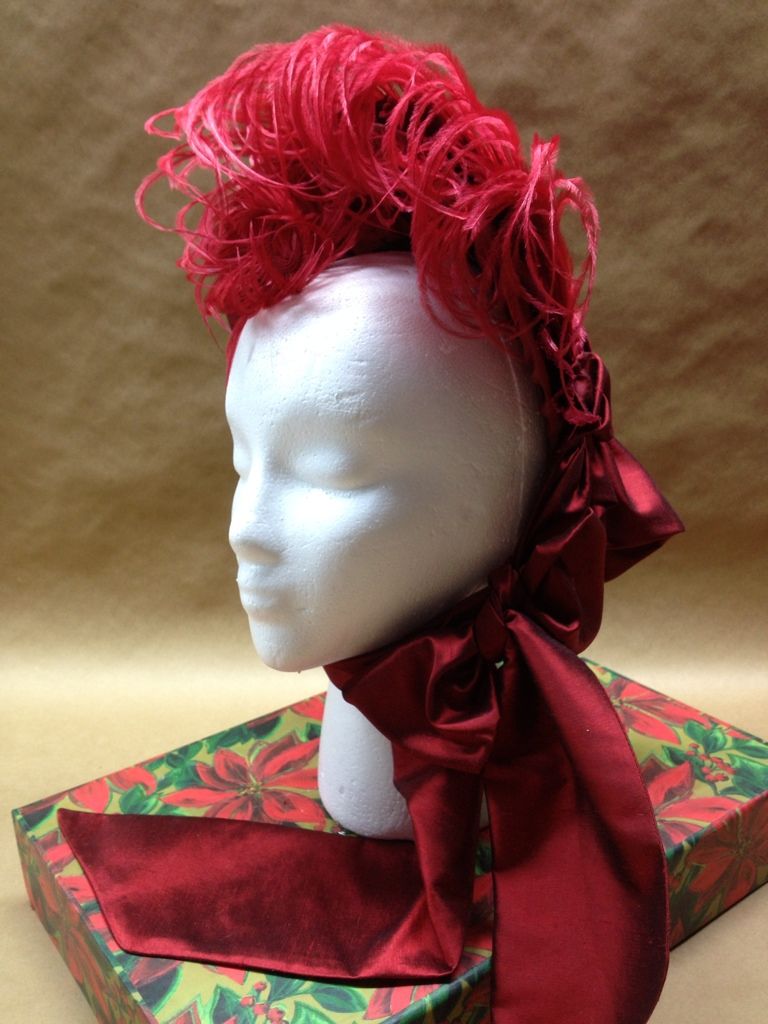
I seamed the raw curved edges and turned the piece, and ran a gathering stitch on the curved edge. That was then hand stitched to the back edge of the bonnet crown.
I used a scrap of black silk for a lining. I cut a marquise shape a little bigger than the crown and folded the edges in. Gathering stitches in rows across the piece help control the fullness. The edges are whipstitched in place.
A dyed ostrich plume is the only decoration. Feathers can be curled in various ways. I often use scissors to curl the fronds like Christmas ribbon, but in this case I used a small barreled curling iron on the fronds. The center shaft I crimped along the length with the edge of my scissors against my thumb. You can get quite a spiral going depending on how close you space each crimp. For this feather I used a quarter inch or so spacing.
The ties are gathered at the end, gathered about three inches further down, folded over to form a pouf, and then stitched in place.
*FredMeyer:




What are you procrastinating on now? Did someone commission another corded petticoat? ^_^
ReplyDeleteYou always make the cutest hats! And I usually don't say "cute" a lot unless I'm talking about a puppy or something. I wish I had your skillz.
Peltex? I've never heard of that before. I'm assuming it's like buckram's stiffness. Is it like a commercial buckram alternative?
Any requests for corded petticoats I'm going to forward to you. :p
ReplyDeleteThank you for your kind words! This was one of those charmed projects, it went together so easily.
Peltex is in the Pellon galaxy of stars. It's like ten layers of the heaviest non-fusible interfacing compressed together. It's much firmer than buckram. You'd need maybe four or five layers of buckram to approximate it. I've gotten it at all the Big Three (JoAnn, Hancocks, and HobbyLobby) and also WalMart. In crowns it's not so easy to get a hatpin through, but for stiff brims it rocks.
I'm procrastinating on my YWU costume contest entry. My family all got pretty sick this month so playing nursemaid means I'm pressed for time and nothing moves the project forward quite like completely unrelated bonnets, right? ^.^ I seem to work best under a looming deadline.
Knowing my weird luck, I'd actually be GOOD at making corded petticoats...and then suddenly all these people will mysteriously want to wear 1840s dresses for Rural Heritage Day...
DeleteHm...I may have to check Peltex out. Since it's so readily available, at least I can cut down on my heavy buckram for crowns only since buckram's more expensive and I can only buy it in one place around here.
There seems to be more motivation with an approach deadline. Not quite fire under your butt but enough that you have to steadily work to get everything done. I can't wait to see the final dress!