The first skirt layer for a pre-hoop era dress is a corded petticoat. Once starched, the cords are quite stiff. In addition to supporting the next layers of ruffled petticoats, the corded petti keeps all the layers of fabric from wrapping around the legs.
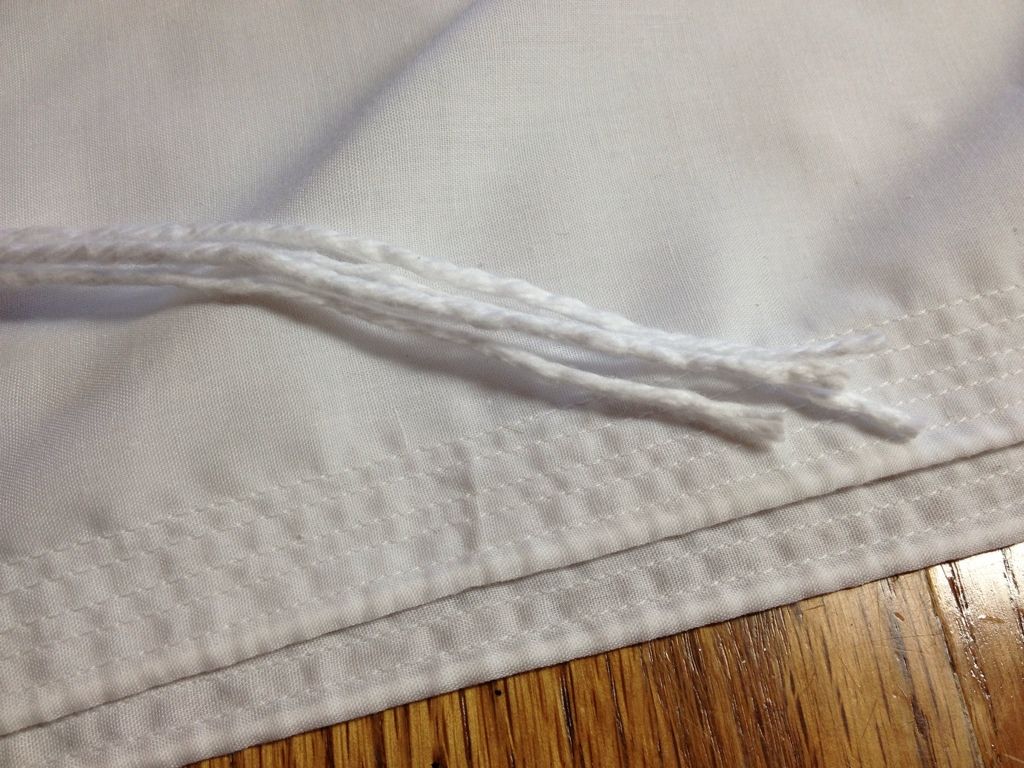
The concept is quite simple, two layers of fabric with cords in between. The fabric I'm using is some lightweight muslin. I used a 90 inch length of 45 inch wide muslin, folded. That allows for about 21 inches of corded length. The corded piece will be sewn to a yoke that has a drawstring or waistband.
The cording is Sugar and Cream cotton yarn.
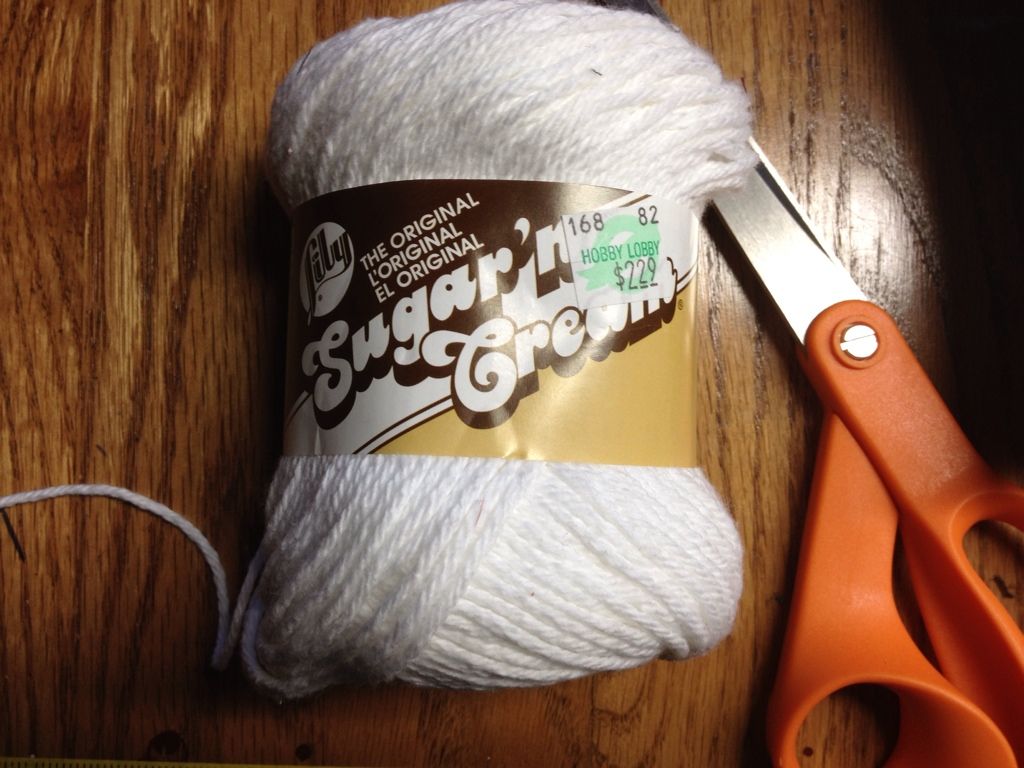
I was worried about the cotton yarn shrinking in the petticoat, so I boiled the whole skein of yarn for a few minutes. To dry it, I unwound a few yards at a time and put the skein and the unwound yarn on the drying rack that inserts into my dryer. When the unwound yarn was dry I balled that up and unwound more. Repeat for the whole skein.
Many costumers around the 'nets make their corded pettis by sandwiching the cords between the layers and using a zipper foot to sew the cords into channels as they go. I tried it this way two times and got frustrated both times. I hate being frustrated, it makes me crave expensive cheese. Knowing how much time was going into this, I devised a new strategy to limit frustration: Sew channels first, and fill them afterwards.
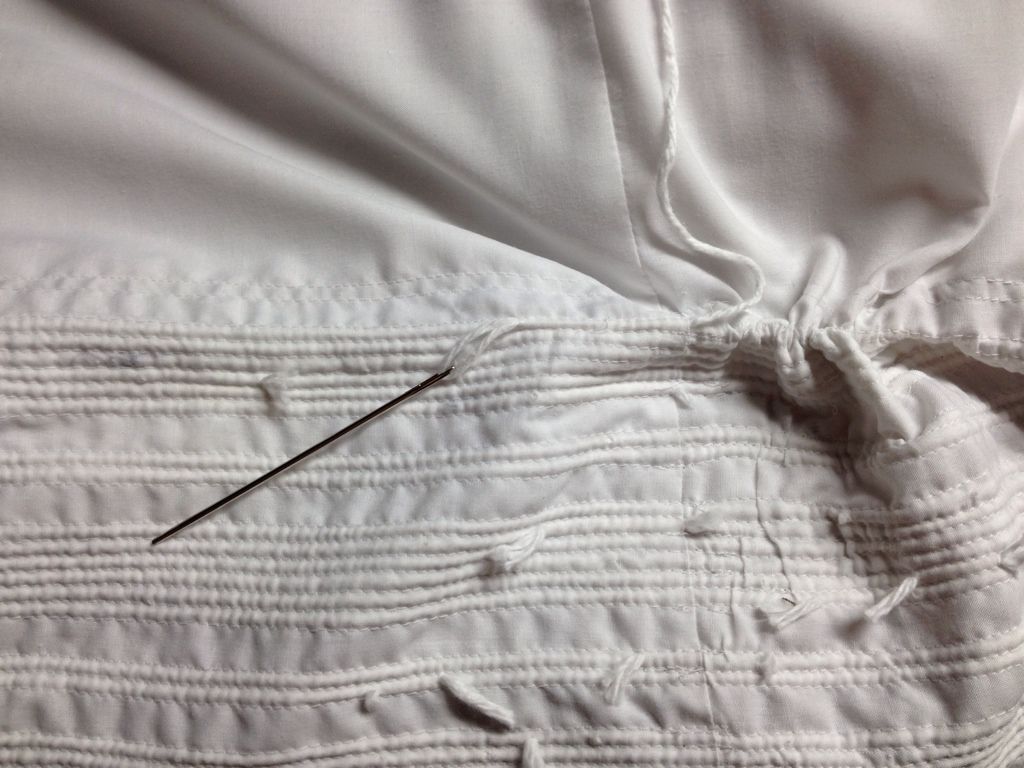
At first I was using a blunt tapestry needle to draw the cords through, but researching the interwebs I found a quilter's page where she was using a long trapunto needle to fill her quilt. I set out in search of one of these long blunt needles and struck out. I did find find doll needles though, long, strong and sharp. The sharp was easy to deal with. A few seconds on the grinding stone and a buff with superfine sandpaper and I had a four inch blunt needle. Huzzah!
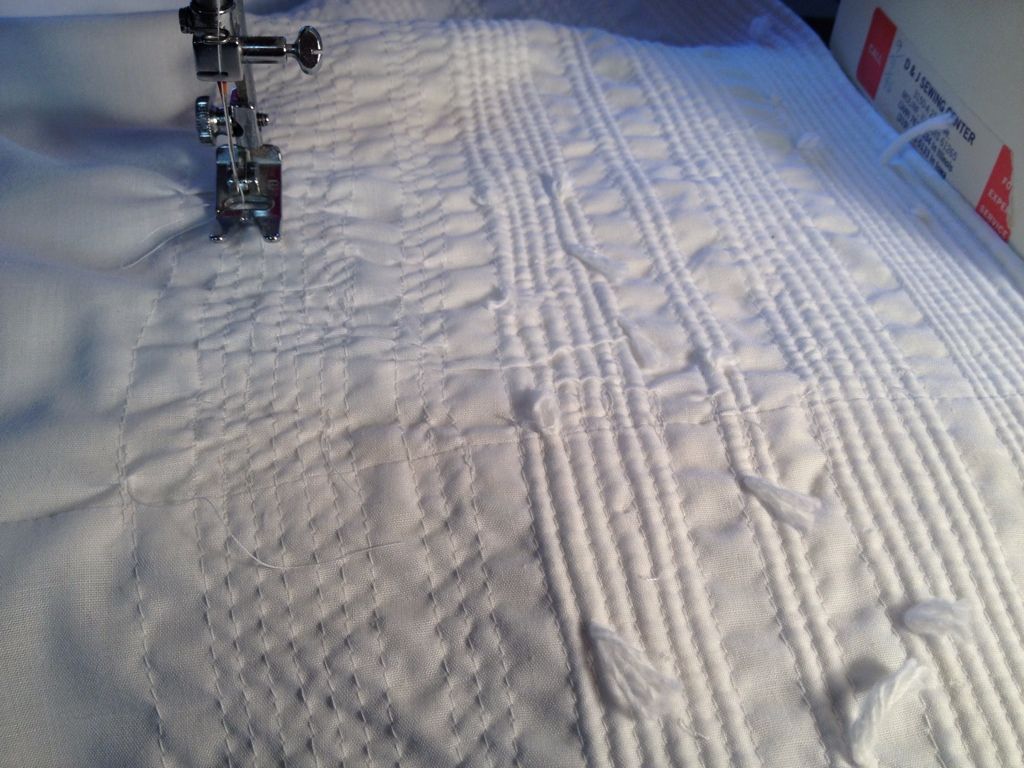
Ninety inches of straight stitching row after row is mind numbing. I switch between stitching and filling to keep from going nutz.
You can see the cord tails all over the place. Intrepid costumers who have gone before me advise to be sure the cords don't all end in the same place or the petticoat will buckle right there.
This project is INCREDIBLY time consuming. I keep my iPhone nearby for photographing the progress and for entertainment. (All praise to the iPhone Netflix app.) I've prepared a graphic to illustrate what I mean by time consuming:
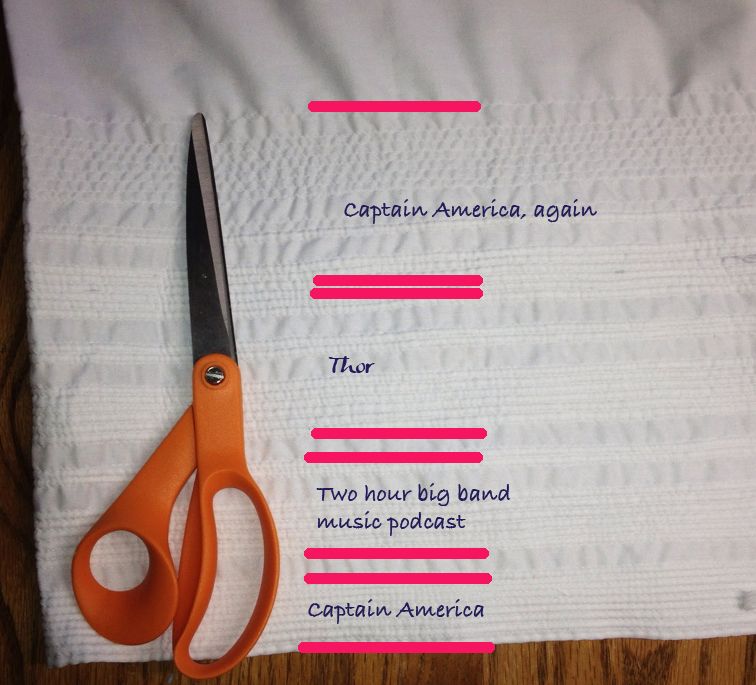
The top row of unfilled stitching is just about the halfway mark. My sanity is hanging by a thread. (nyuk!) I have to do something else for a while. This means of course....Parasol!!
You are amazing!
ReplyDeleteHo. Ly. Crap. I bow to your greatness and patience to do that sort of thing. If it were pin tucks, I might be able to stick it out for a little while, but this! I'm going to have to look at this close up at the festival for sure!
ReplyDeleteDo you think a piping foot would work any better than a regular zipper foot? Just a thought, since I'm never going to make one of these...I'll ask you! *snicker*
I tried it with both the zipper and the piping foot and the layers always started to shift on me. Plus, the cord had to feed into the layers from the left side which felt really awkward. It was slow and painful. I figure the two step sew/fill versus the one step zipper foot is a wash as far as speed is concerned.
ReplyDeleteYou're going to have to ply me with liquor to get me to agree to do another one of these any time soon! XD