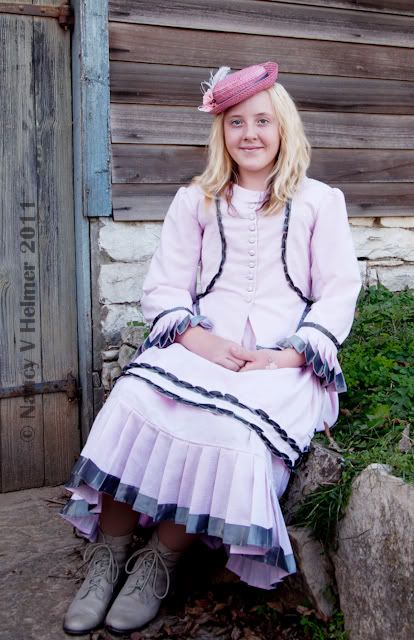
Do you know what's just as fun as a parasol? A hat! A cute little pork pie hat. I designed one last year for my younger daughter, to go with her 1871 girl's dress.
It turned out so well I immediately drew out the pattern so I wouldn't forget.
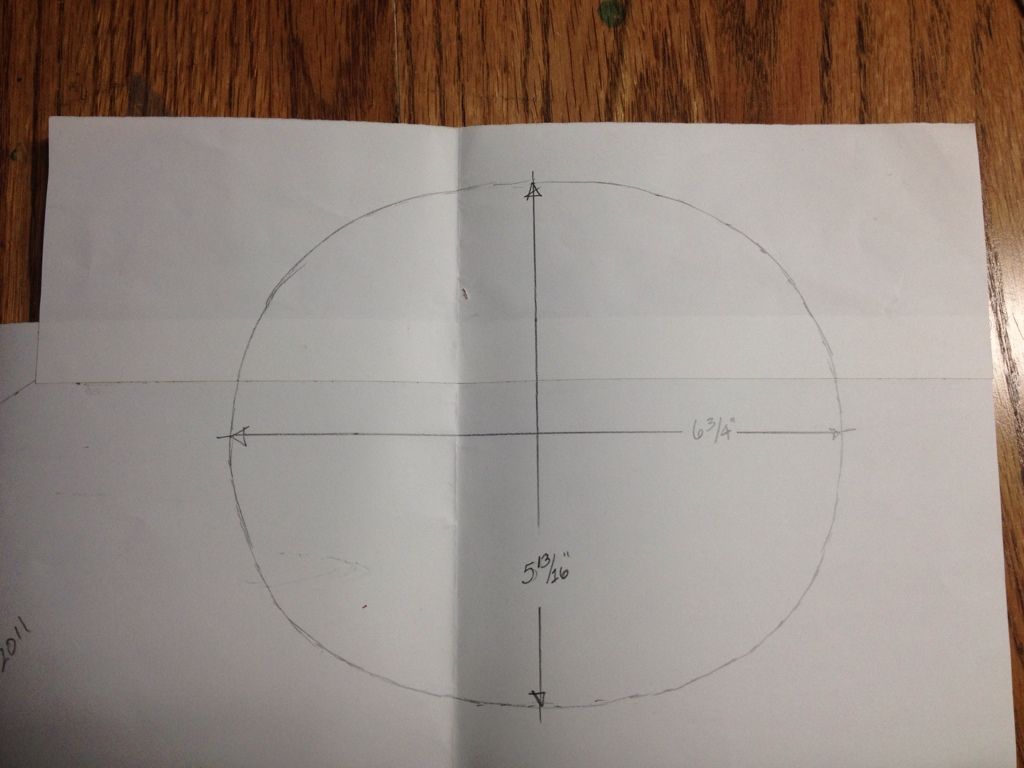
Yes, five and thirteen sixteenth inches is strange. I didn't measure when I was using paper to develop the buckram form, I just cut the shape.

Half of the crown side. Two and a half inch segments, five degrees off at each segment to make the curve.
I use buckram I get at Hancock's. Most hat-making references tell you to double up for more stiffness, but I used single layers for this small hat. Wired and whipstitched together:

I use a machine zigzag stitch to wire the buckram and a strong thread to hand whipstitch. You can see the straw I'll use to cover it. I like to use bought hats that I can tear apart. Having the crown tip already shaped in the spiral is so convenient. The hat before I pulled it apart:
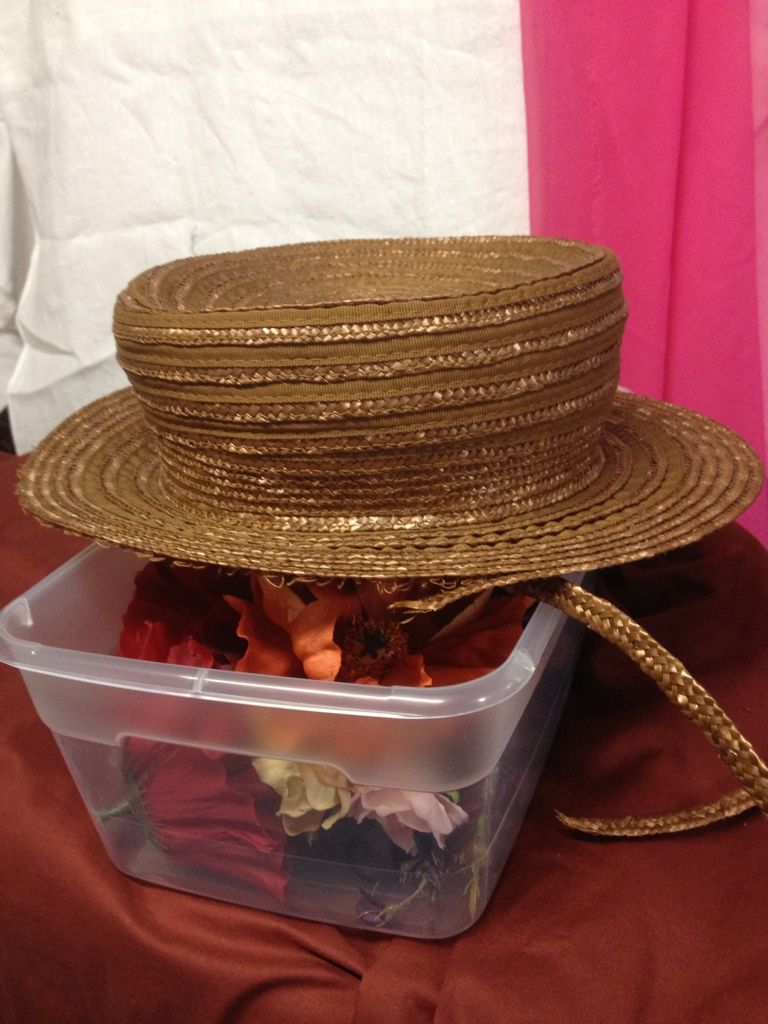
I got this one years ago from Hats by Leko, it's the fourth hat on that page. It's alternating straw and grosgrain ribbon. I pulled the stitching so I'd keep a straw and ribbon together. When I got a small enough circle of the crown tip, I started stitching that to the buckram frame.
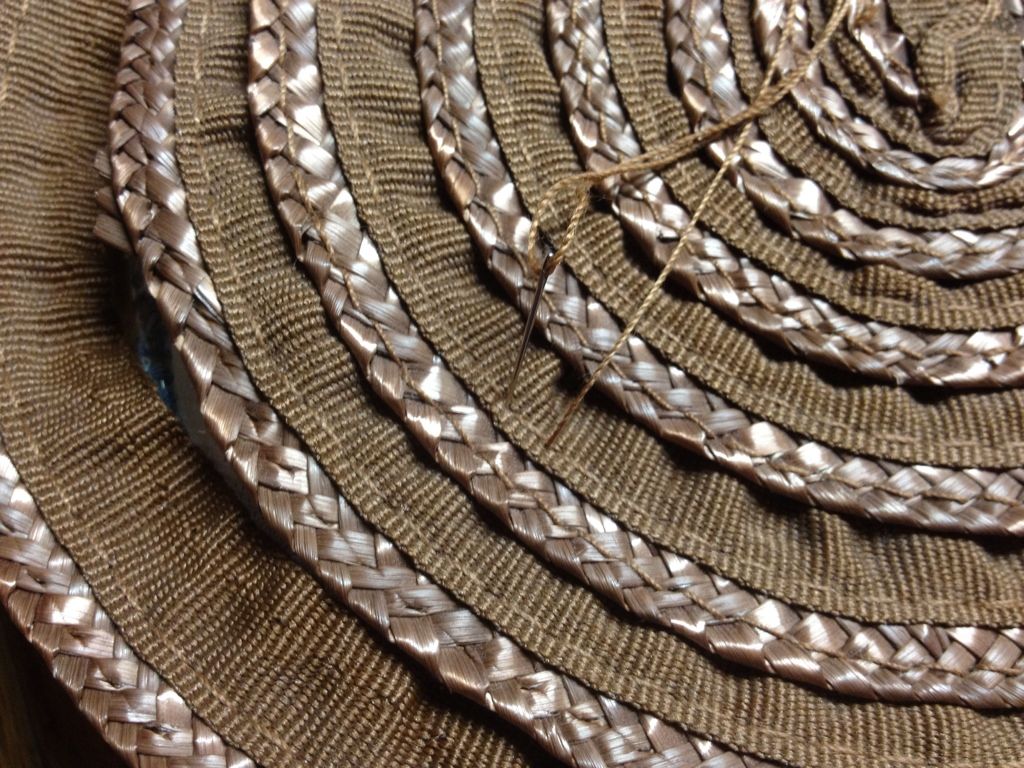
I used the string I pulled out of the hat to sew it back together. It took some untangling and pressing to straighten out but it's a perfect color match. Hand stitching though heavy stuff like this is pretty tedious but the stitches don't need to be really close. It goes fast.
I pin it to the frame and hand stitch in rounds. When I get to the brim it gets trickier. It's a matter of changing the tension of the braid as you sew to get the brim to turn up; loose as I come off the bottom of the brim and tighter as the brim gets wider.
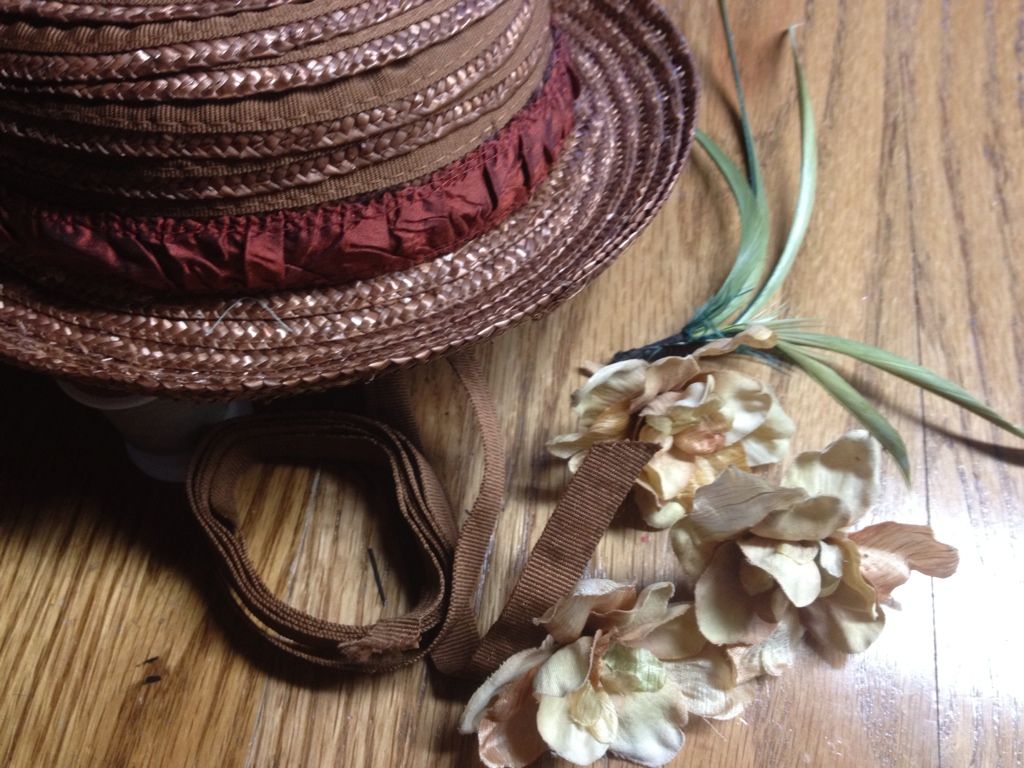
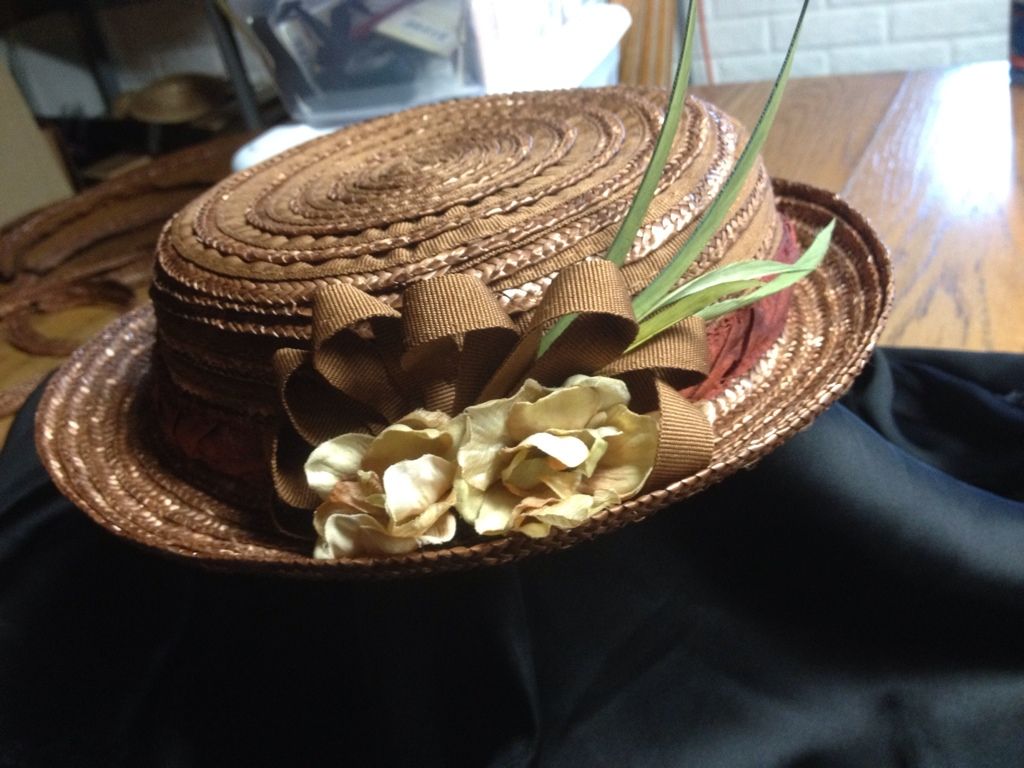
I rooted through my millinery supplies box for stuff to decorate with and found a feather I'd dyed for a winter fur bonnet that didn't color up enough. Lesson: Keep the mistakes, they may come in handy! I found a piece of red silk in the scraps box to ruche up for a hat band. Also some silk verbascums that I always have on hand. They're my favorite hat flower. One more great thing about tearing apart hats is that you can use the straw braid, or in this case the ribbon as decorative items.
Here's another hat I made from a similar Leko hat using that concept:

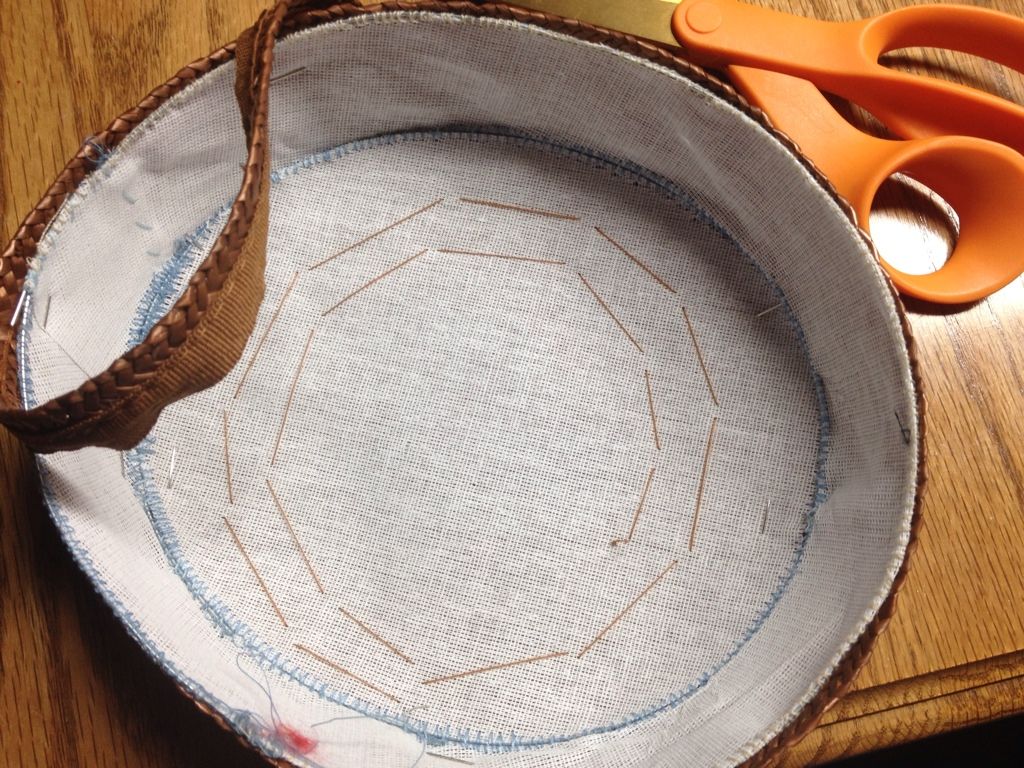
For the lining I used scraps from the green silk parasol. I cut the crown tip and sides from the buckram pattern, adding a three quarter inch seam allowance. I sewed only a quarter inch allowance, leaving the rest for ease in the lining. You may wonder what that white stuff is...
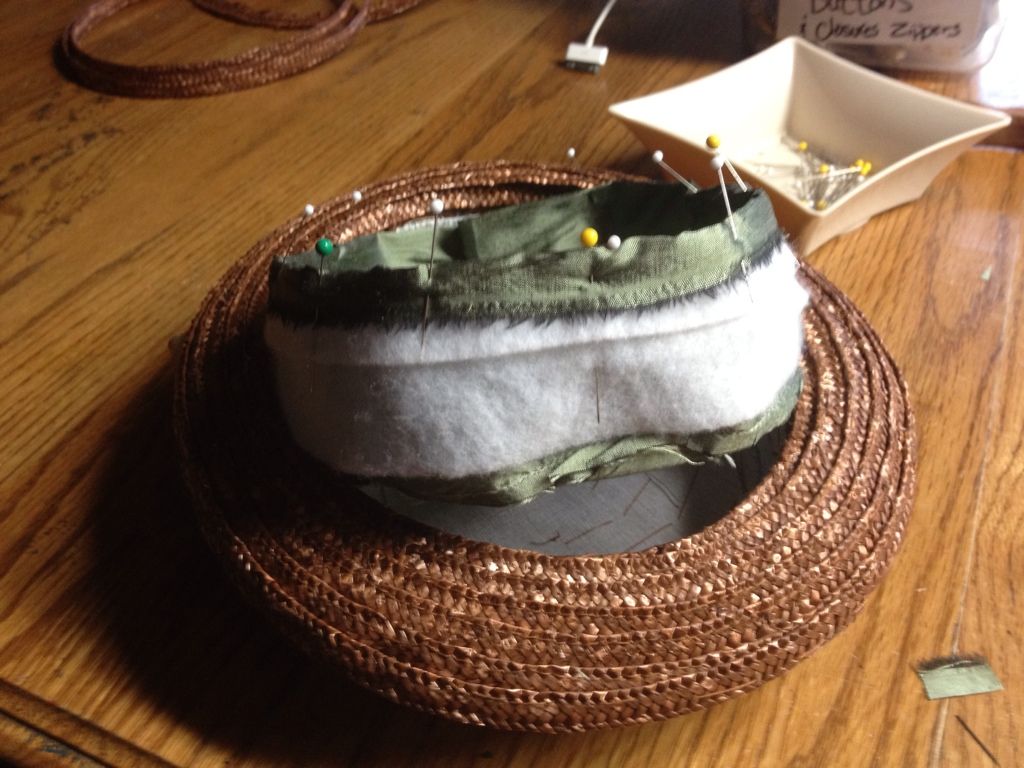
That is a pre-made tailoring sleeve head. It's like quilt batting. I got a sack of them from the tailoring supply house. I tucked it up under the fold before I pinned in the lining to soften the hat where it sits on the head. I pull it over the edge just a little bit as I sew the lining in.
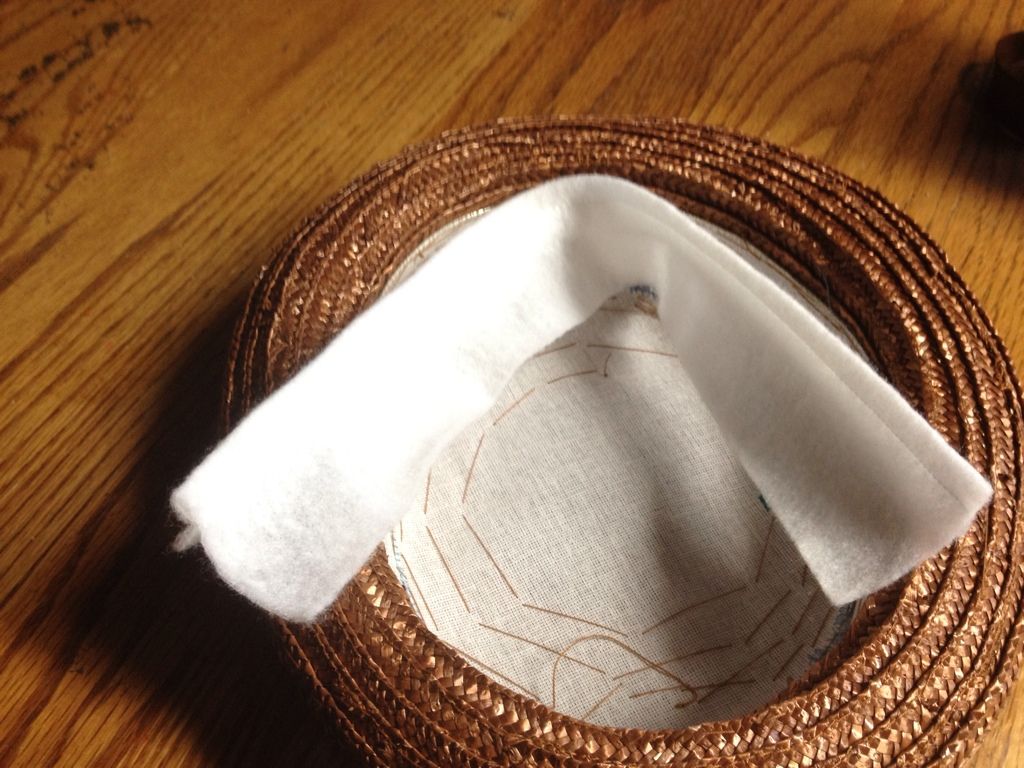
This style of hat in the 1870s fashion plates is worn very forward on the head and the padding keeps the hat from digging into the forehead and leaving a big red dent. :-O

The finished hat:
No comments:
Post a Comment